HTML – Forms
Forms are one of the most important tools used by a webmaster to gather important information about an internet user, information’s such as e-mail, name, address, phone or any other kind of info.
Based on the necessity the information can even be stored on a file, you can make statistics, register forms or subscriptions to the information presented in your web page, and many others.
HTML – Text fields
Before getting into detail, we have to expose a little a form’s basics. Text fields have got a few attributes that have to be mentioned since the beginning:
- type – establishes the text field’s type. For example: text, sending, or password.
- name – gives the field a name for further reference at a later date.
- size – sets the size of the field.
- maxlenght – the maximum value of characters that can be typed.
HTML Code:

<form method="post" action="mailto:youremail@email.com">
	Name: <input type="text" size="10" maxlength="40" name="name" /><br />
	Password: <input type="password" size="10" maxlength="10" name="password" />
</form>
Demo
Password:
DO NOT use this code. Data from the form will not be encrypted and will not be safe in terms of security.
HTML – Email forms
Let’s add the send button now, shall we? Generally, the send button should be the last and to have the attribute named as ‘Send’, ‘Submit’, or something around that.
We also need to specify a destination of the data entered in the form, as well as the transfer mode. This can be done by adding the following form attributes:
- method – We will use the “post” method. This sends the form with the information inserted without displaying the user’s details.
- action – This will be used to specify the URL where the information will be sent.
HTML Code:

<form method="post" action="mailto:youremail@email.com">.

	Name: <input type="text" size="10" maxlength="40" name="name" /><br />
	Password: <input type="password" size="10" maxlength="10" name="password" /><br />

	<input type="submit" value="Send" />

</form>
Demo
Password:
Just change the e-mail address to a real one for it to work!
HTML – Radio Buttons
The radio buttons are very popular, useful and easy to use. The most used example would be a question with more than one answer choice. The must be known attributes are the following:
- value – specifies what will be sent in the case in which a user selects a certain button. Only a single value will be sent.
- name – decides which button set does the selected button belong to.
HTML Code:

<form method="post" action="mailto:youremail@email.com">
	<p>What type of shoes you wear ?</p>

	<label>Color:</label> <br />
	<input type="radio" name="color" value="dark" /> Dark <br />
	<input type="radio" name="color" value="light" /> Light <br />

	<label>Size:</label> <br />
	<input type="radio" name="size" value="small" /> Small <br />
	<input type="radio" name="size" value="average" /> Average <br />
	<input type="radio" name="size" value="big" /> Big <br />

	<input type="submit" value="Email Myself" />
</form>
Demo
What type of shoes you wear ?
Dark
Light
Small
Average
Big
In the case in which you will replace the email address with yours you will receive an email with: ‘size=(choose) color=(choose)’.
HTML – Checkbox
Using checkboxes the user has got the possibility of choosing one, two or more answer variants. The name and value attributes are used the same as for the radio buttons.
HTML Code:

<form method="post" action="mailto:youremail@email.com">
	<p>What color shoes you prefer?</p>

	<input type="checkbox" name="shoes" value="black" /> Simple Black <br/>
	<input type="checkbox" name="shoes" value="white" /> Simple White <br/>
	<input type="checkbox" name="shoes" value="gray" /> Shades of gray <br/>
	<input type="checkbox" name="shoes" value="black&white" /> Black and white<br/>

	<input type="submit" value="Email Myself" />
</form>
Demo
What color shoes you prefer?
Simple Black
Simple White
Shades of gray
Black and white
HTML – Another types of list forms
Another model of list form is the following, in which the user selects a certain line that will be sent as the chosen option.
HTML Code:

<form method="post" action="mailto:youremail@email.com">
	<p>Musical preferences</p>

	<select multiple name="music" size="4">
		<option value="emo" selected>Emo</option>
		<option value="metal/rock" >Metal/Rock</option>
		<option value="hiphop" >Hip Hop</option>
		<option value="ska" >Ska</option>
		<option value="jazz" >Jazz</option>
		<option value="country" >Country</option>
		<option value="classical" >Classical</option>
		<option value="alternative" >Alternative</option>
		<option value="oldies" >Oldies</option>
		<option value="techno" >Techno</option>
	</select><br />

	<input type="submit" value="Email Yourself" />
</form>
Demo
Musical preferences
Emo
Metal/Rock
Hip Hop
Ska
Jazz
Country
Classical
Alternative
Oldies
Techno
Another form model is the ‘drop-down’ menu. This will be displayed as a field, which will then show a list when a click is made on it.
HTML Code:

<form method="post" action="mailto:youremail@email.com">
	<p>Level of education?</p>

	<select name="education">
		<option>Choose</option>
		<option>High school </option>
		<option>Collage</option>
		<option>Doctorate</option>
	</select><br />

	<input type="submit" value="Email Yourself" />
</form>
Demo
Level of education?
Choose
High school
Collage
Doctorate
HTML – Upload form
First of all it must be mentioned that this form is only the interface, the visible part with which the user will be able to work with. To make a complete upload form PHP and PERL knowledge and skills, not to mention javascript.
An upload form is composed of many parts. We will start by establishing the size of the file that we will upload. This thing is done using a hidden field. After that, we will create the field in which the user will be able to write the address of the file or will be able to browse for it in an ‘explore’ window.
HTML Code:

<input type="hidden" name="MAX_FILE_SIZE" value="100" /> <input name="file" type="file" />
Demo
HTML – Text zones, comments
Generally, text zones are used to send comments. Blogs and forums are the main web pages that are using these kind of options. Nevertheless, there are many sites that are using these text zones to find out their user’s opinion on a certain matter.
To create a text zone we will first specify the rows and cols attributes within the <textarea> tag. ‘Rows’ will establish the height of the field, and ‘cols’ its length, in means of characters. In the following example there are 5 lines of 20 characters each. Also, we must specify the attributes of the warp tag, those being:
- wrap=
- “off”
- “virtual”
- “physical”
HTML Code:

<form method="post" action="mailto:youremail@email.com">

	<textarea rows="5" cols="20" wrap="physical" name="comments">Write a comment</textarea><br />
	<input type="submit" value="Email Yourself" />

</form>
Demo
Also, it must be mentioned that everything you will write will be shown within the text zone.
Python Example for Beginners
Two Machine Learning Fields
There are two sides to machine learning:
- Practical Machine Learning:This is about querying databases, cleaning data, writing scripts to transform data and gluing algorithm and libraries together and writing custom code to squeeze reliable answers from data to satisfy difficult and ill defined questions. It’s the mess of reality.
- Theoretical Machine Learning: This is about math and abstraction and idealized scenarios and limits and beauty and informing what is possible. It is a whole lot neater and cleaner and removed from the mess of reality.
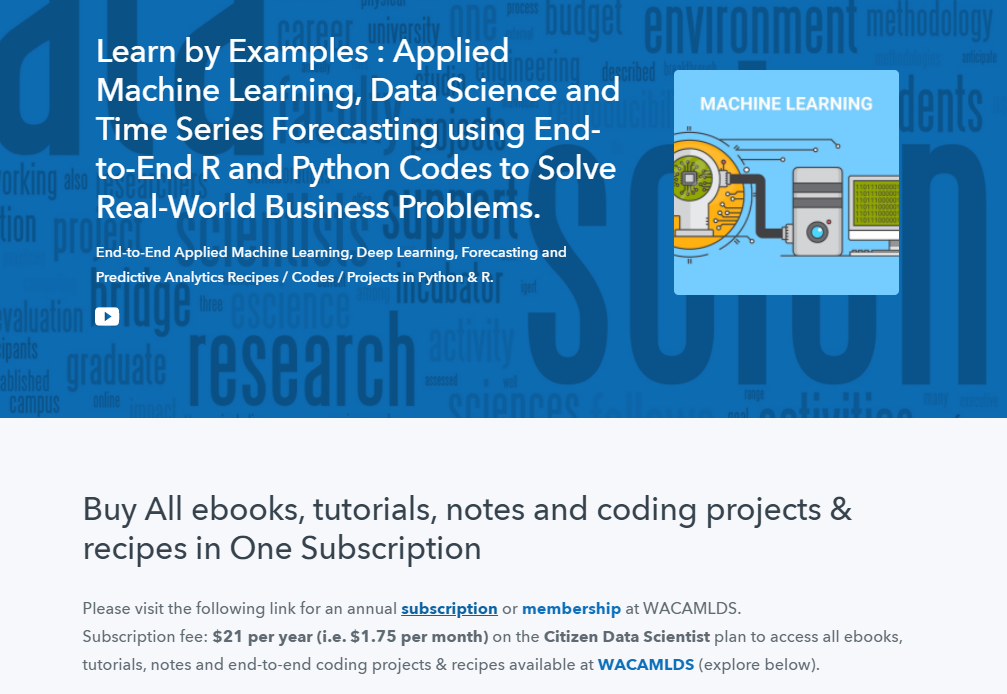
Data Science Resources: Data Science Recipes and Applied Machine Learning Recipes
Introduction to Applied Machine Learning & Data Science for Beginners, Business Analysts, Students, Researchers and Freelancers with Python & R Codes @ Western Australian Center for Applied Machine Learning & Data Science (WACAMLDS) !!!
Latest end-to-end Learn by Coding Recipes in Project-Based Learning:
Applied Statistics with R for Beginners and Business Professionals
Data Science and Machine Learning Projects in Python: Tabular Data Analytics
Data Science and Machine Learning Projects in R: Tabular Data Analytics
Python Machine Learning & Data Science Recipes: Learn by Coding
R Machine Learning & Data Science Recipes: Learn by Coding
Comparing Different Machine Learning Algorithms in Python for Classification (FREE)
Disclaimer: The information and code presented within this recipe/tutorial is only for educational and coaching purposes for beginners and developers. Anyone can practice and apply the recipe/tutorial presented here, but the reader is taking full responsibility for his/her actions. The author (content curator) of this recipe (code / program) has made every effort to ensure the accuracy of the information was correct at time of publication. The author (content curator) does not assume and hereby disclaims any liability to any party for any loss, damage, or disruption caused by errors or omissions, whether such errors or omissions result from accident, negligence, or any other cause. The information presented here could also be found in public knowledge domains.
Google –> SETScholars